How to Schedule a Post on a Facebook Group

Being part of a Facebook Group allows you to stay connected to others, no matter where you are located in the world. If you happen to be the administer of the group, you are allowed certain privileges, including the ability to schedule posts.
Let’s face it: we all get busy from time to time, but that doesn’t mean we want to neglect the communities we’ve built online. Being able to schedule posts allows you to stay in contact with your group members by creating discussions when it’s convenient for you.
If you find yourself wondering how to schedule a post on Facebook Group, the process is fairly quick and easy. We’ll walk you through the steps so that you can stay in touch with your groups and keep them informed and/or inspired.
You might also like: Smartphone Tricks
Running a Facebook Group is a great way to get like-minded individuals together in the same place. Once the group has formed, you need to keep everyone engaged. Posting regularly in the group will help with that — and that’s when knowing how to schedule a post on Facebook Group works to your advantage.
You might also like: How to Reduce Price on Facebook Marketplace
How to Schedule a Post on Facebook Group Using a PC
Staying consistent with how many and the types of posts you add to your Facebook Group is essential. Not only does it keep people engaged, but it sets up expectations that other members will appreciate. When it comes to asking how to schedule a post on Facebook Group, you’ll want to follow the steps listed below.
Step 1: Log in to Your Facebook Account
The first thing you’ll need to do when learning how to schedule Facebook Group posts is to log in to your Facebook account.
If you are on your computer, you can use whatever browser you prefer. You may be prompted to type in your username and password.
Step 2: Open the Facebook Group
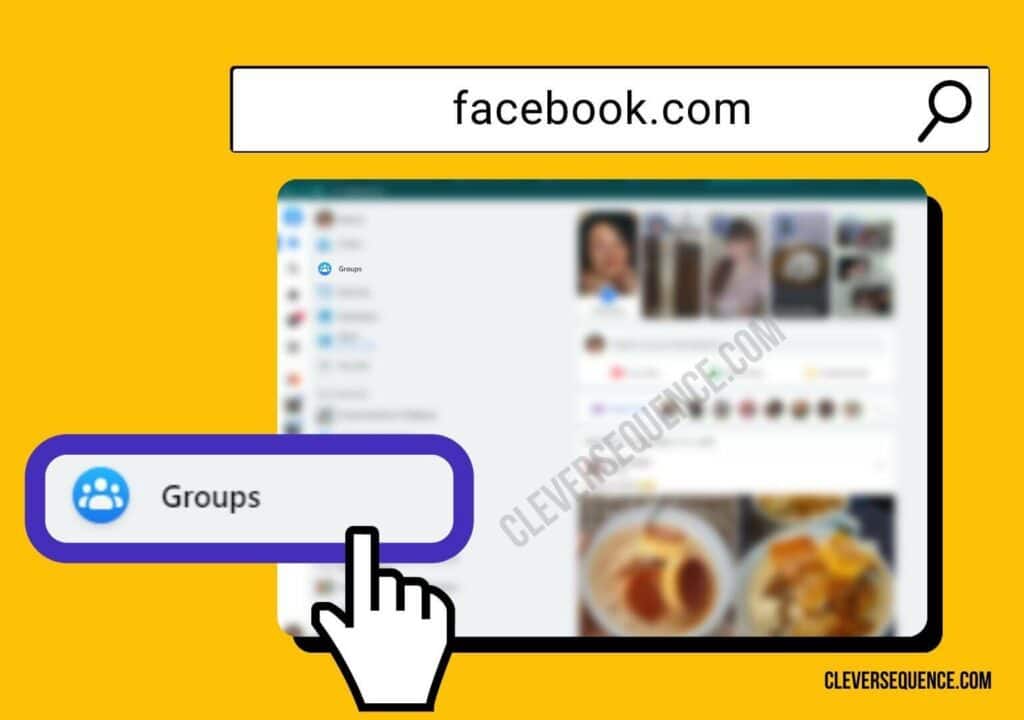
When using a PC to schedule Facebook Group posts, you can access your Groups from the menu on the left-hand side of the screen.
Click on the icon that looks like a bunch of people in a circle, then choose which group you want to post in from the list of options and click on the group name.
Step 3: Create Your Post
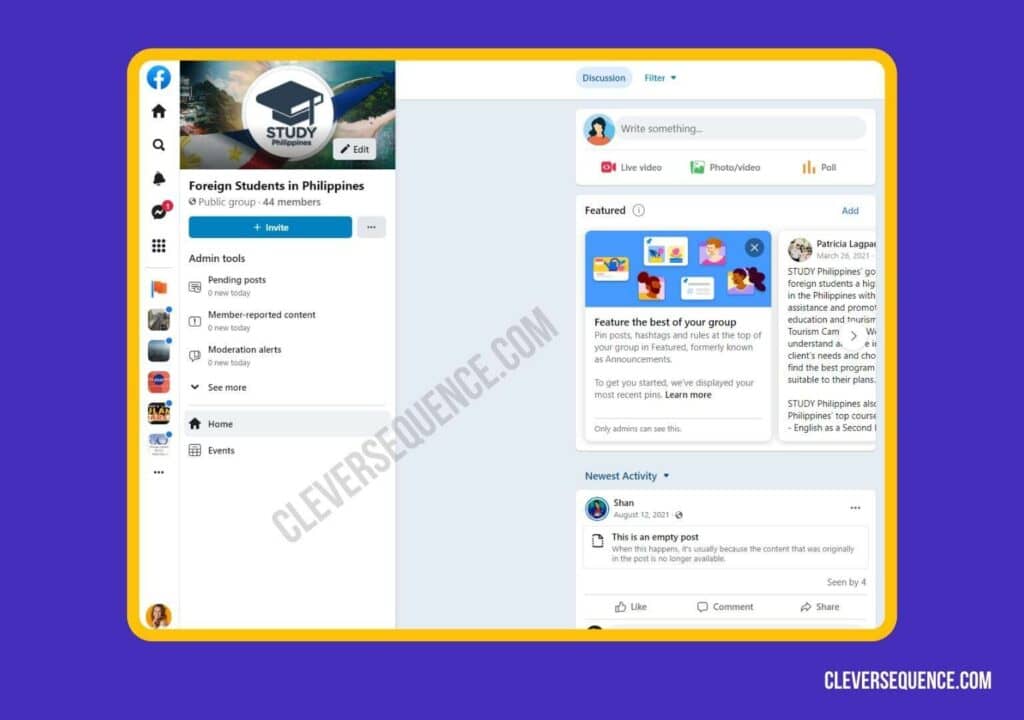
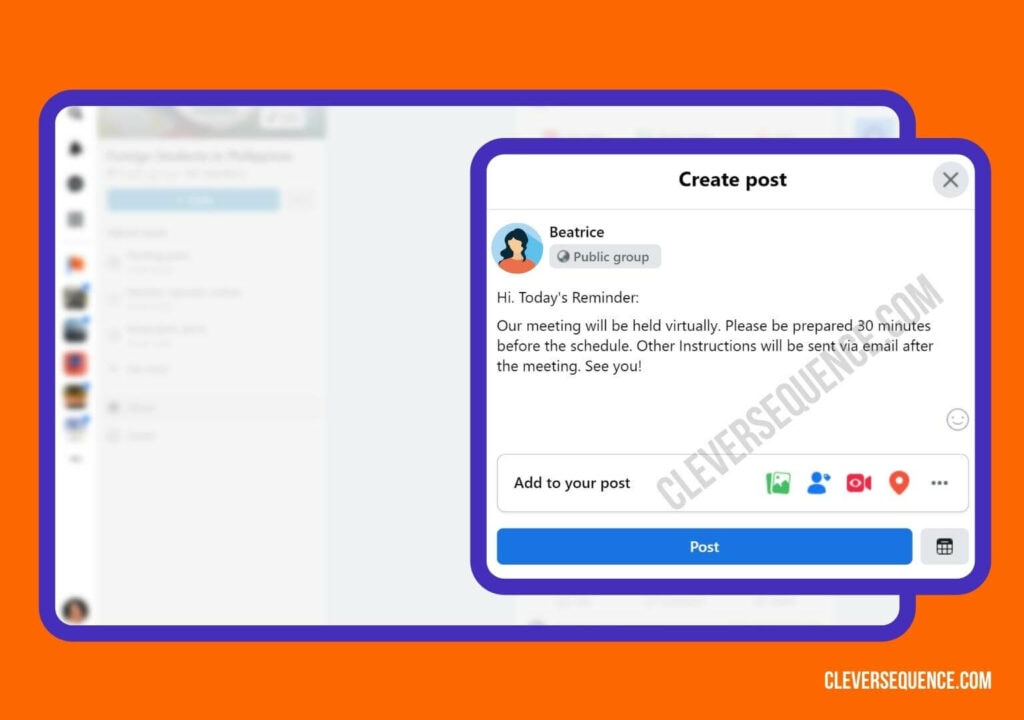
After clicking on the group name, you will be taken to the feed. At the top of the page, you should see a box that allows you to tell others “What’s on your mind.”
Click on this box with your cursor and type in your post.
In addition to text, you can also add several other features, including pictures, videos, links, and hashtags, among others. You don’t have to use these extras, but they can help make your post more eye-catching and informative.
Step 4: Click on the Calendar Icon
When asking how to schedule a post on Facebook Group, after you have created your post, instead of clicking the “Post” button at the bottom, you will click on the calendar icon.
Once the menu pops up, you’ll be able to choose the exact date and time you want the post to appear in your Facebook Group.
Step 5: Schedule Your Post
After adding the date and time to publish your post, you’ll then click the “Schedule” button at the bottom of the page.
Your post will then appear in the group on the date and at the time you specified.

You might also like: how to make a schedule on Google Sheets
Adding a bunch of people to a Facebook Group because you share the same interests doesn’t mean the group is going to be a success. You have to have a strategy in mind. Think about what you want the members to get out of the group and what benefits they get from participating.
You might also like: how to record a WAV file on iPhone
How to See Scheduled Posts on Facebook Group Using a PC
To ensure that you have added all of the posts you want to include in your group, you might be wondering how to see scheduled posts on Facebook Group. Thankfully, it’s easy to see the list of posts you’ve created if you follow the steps listed below.
Step 1: Access Your Facebook Account
If you aren’t still logged in to your Facebook account, that’s the first thing you’ll need to do to be able to view the scheduled posts.
Step 2: Go to Groups
Once you’ve gained access to your account, you’ll need to go to your groups, which can be found on the left-hand side of the screen.
From the list of options, click on the group name you want to check the scheduled posts for.
Step 3: Look for Scheduled Posts
Accessing the group should take you to the “Manage group” menu, and under the list of “Admin tools,” look for and click on “Scheduled posts.”
Step 4: Make Changes to Your Posts (if necessary)
Clicking on “Scheduled posts” will bring up a list of all of the posts you have created for that particular group.
From here, you can make changes to your posts, if necessary. The options you are given include changing the date and time of the post, posting now, or deleting the post, among other options.
If you want to make changes, here’s what you’ll need to do:
- Find the scheduled post you want to change
- Click on the three vertical dots in the right-hand corner of the post box
- From the list of options, choose which change you want to make and click on it
You might also like: how to come up with a username for gaming
How to Schedule a Post on Facebook Group Using Apps
The steps we’ve listed above allow you to schedule one post at a time to your Facebook Group. However, if you find that you need to schedule several or add the same post to many different places, then you’ll need to use an app to help you accomplish your goals. Here are a couple you might consider checking out:
Hootsuite
If you’re looking for an app that has been around for a while and is trusted by lots of people, then you need to check out Hootsuite. Not only will using this app help you when asking how to schedule a post on Facebook Group, but you can post to other social media accounts as well.
Hootsuite also allows you to view analytics to see how well your posts are performing, and it also comes with various plugins to take your social media posting to a whole new level. When it comes to bulk Facebook Group messages, Hootsuite can help with your posting wants and needs.
RecurPost
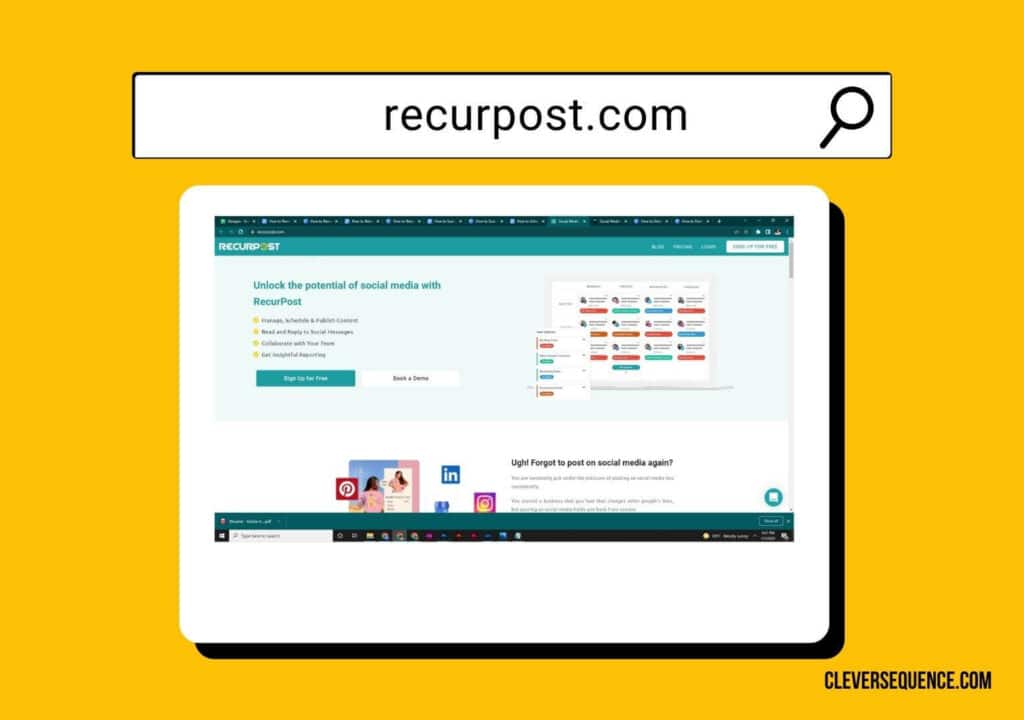
Another option you might consider when it comes to creating and scheduling multiple posts for your Facebook Group is to use RecurPost. You’ll be able to post on Facebook, as well as to Twitter, LinkedIn, and Instagram.
One of the features that make RecurPost stand out from the others is that it has a reposting feature that can help you generate new traffic — and you don’t have to create new content to achieve your goals! If this sounds appealing, then you’ll want to check out how RecurPost can help in your Facebook Group and other social media posting endeavors.
You might also like: How to Check Birthdays on Facebook App
If you’re planning on having new members join your group and you want to be found on Facebook, then you need to make sure you have the right name. Not only do you need something that reflects what the group is about, but you also need to consider how others might search for what you have to offer.
You might also like: convert 4K to 1080p online
How to Schedule Facebook Posts on iPhone
In addition to wondering how to schedule a post on Facebook Group using a PC, you might also be wondering how to schedule Facebook posts on iPhone. To achieve that goal, you’ll need to follow these steps:
Step 1: Open the Facebook App
The first thing you’ll need to do when attempting to schedule Facebook Group posts on an iPhone is to open the app.
Look for the blue circle with a white “f” in it and click on it.
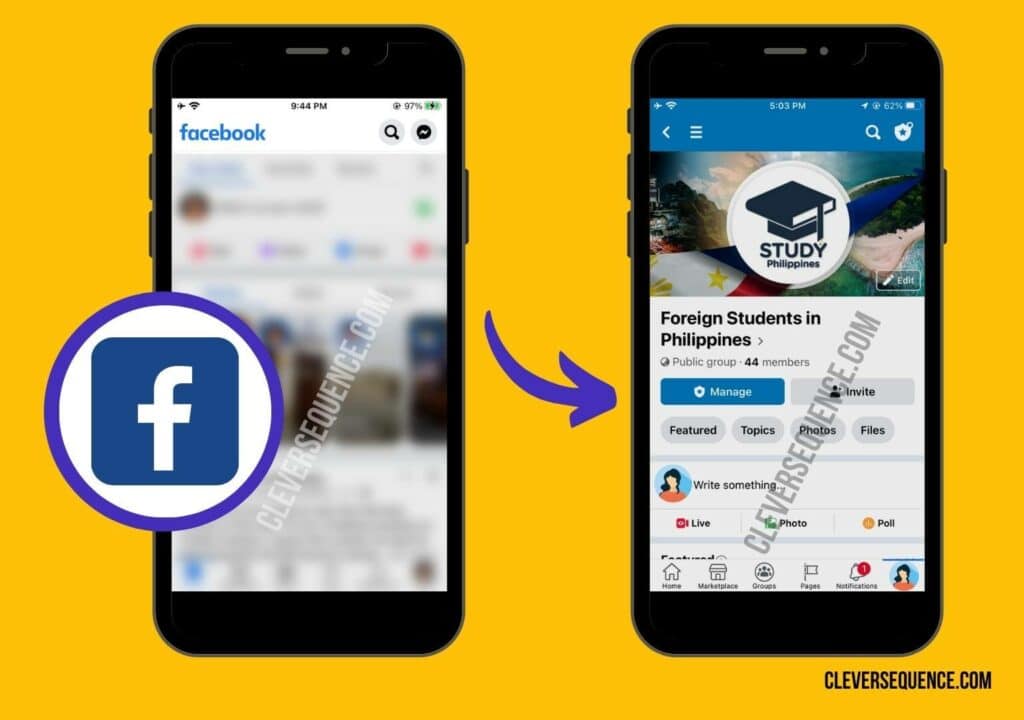
Step 2: Go to the Group
Once you’ve gained access to your Facebook page, you’ll then need to find the group you want to post in.
To find your groups, you’ll need to click on the three horizontal lines in the upper right-hand corner of the screen.
When the new menu appears, look for Groups from the list of options. You should see a blue circle with several people in it. Click on that.
From the list of options that appears, click on the group name you want to post in.
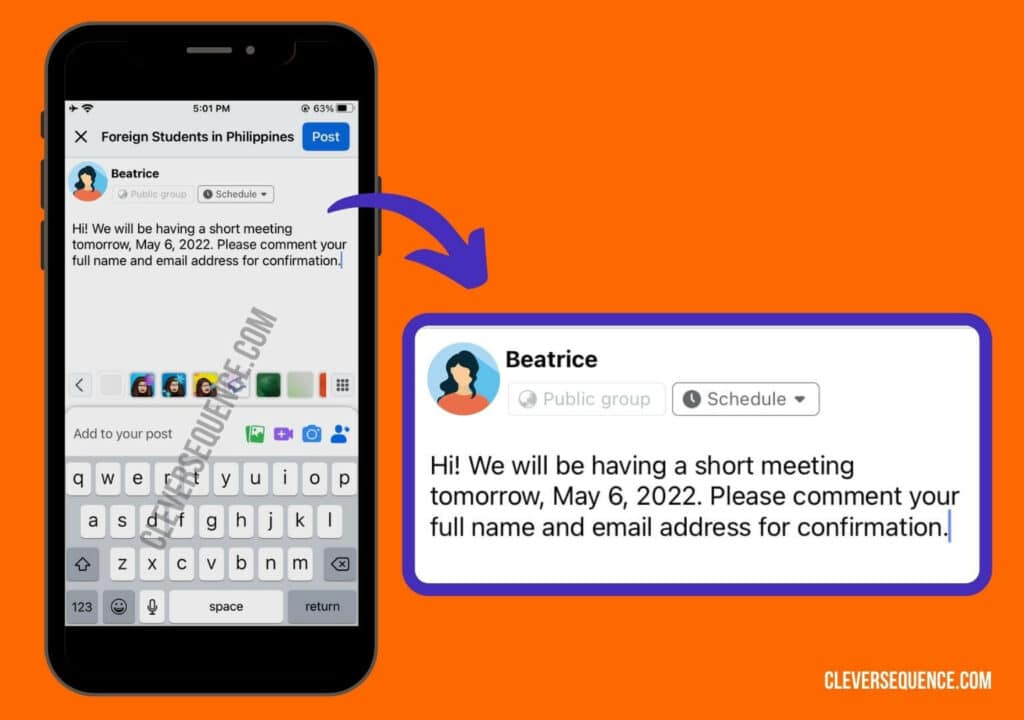
Step 3: Create Your Post
From the group’s home page, click in the “Write something” dialogue box that appears in the middle of the page.
Here, you’ll be able to add any text you want.
You can also add other items to your post, including videos, photos, links, hashtags, among others.
Step 4: Choose a Date and Time for Your Posts
After creating your post, to schedule it, you’ll need to click on the clock icon in the lower left-hand corner of the post box.
You’ll then be able to choose a specific date and time you want the information to post to the group page.
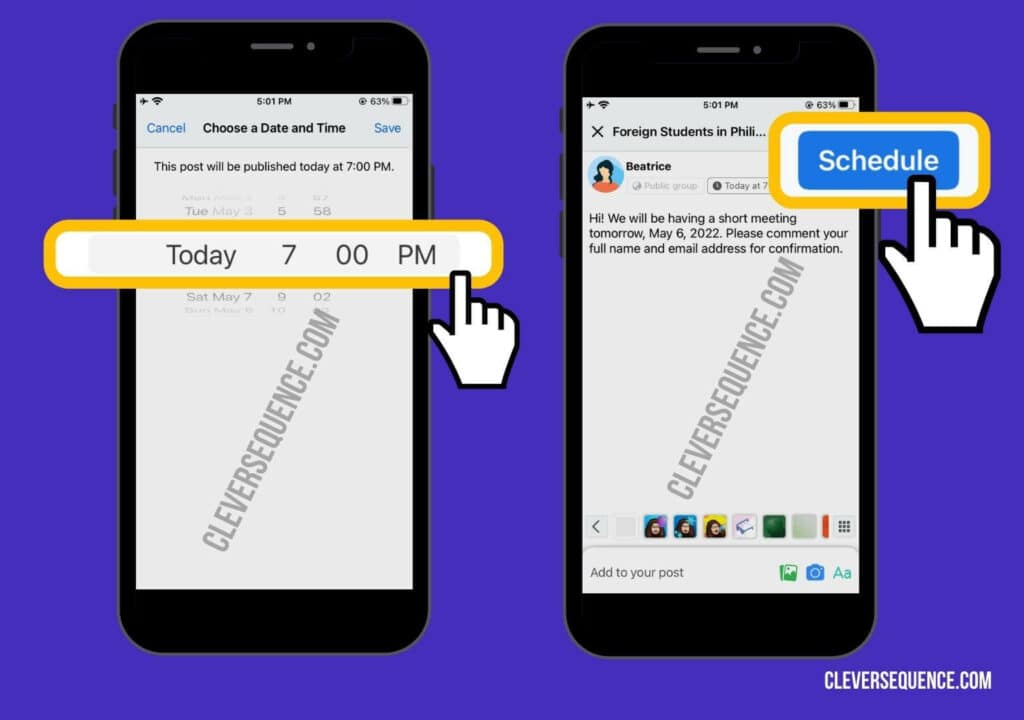
Step 5: Schedule Your Post
After choosing the day and time for your post to be added to the group, you’ll then click the “Schedule” button at the bottom of the box.
You might also like: how to make a video louder on iPhone
Making Changes to Your Scheduled Post on Your iPhone
If you decide you need to make changes to your scheduled Facebook Group post, you’ll need to follow these steps:
Step 1: Go to Facebook
If you aren’t still already in your Facebook account, you’ll need to click on the icon on your phone.
Step 2: Find Your Group
Find the group where the post has been scheduled by clicking on the three vertical lines in the upper right-hand corner and clicking on the Groups option from the list.
Step 3: Open the Admin Tools
Once you are in the right group, you’ll then need to open the Admin Tools. There is an icon in the upper left-hand corner of the screen that looks like a shield.
Click on that.
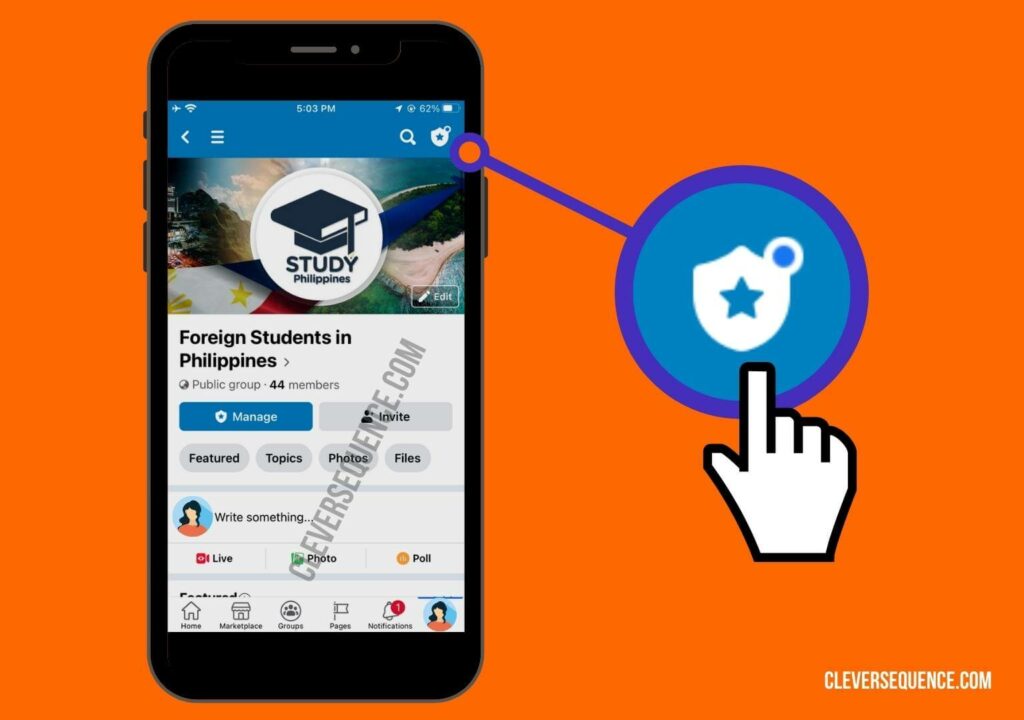
Step 4: Select the Scheduled Post
Clicking on the shield will bring up a list of options, and you’ll want to click on “Scheduled posts.”
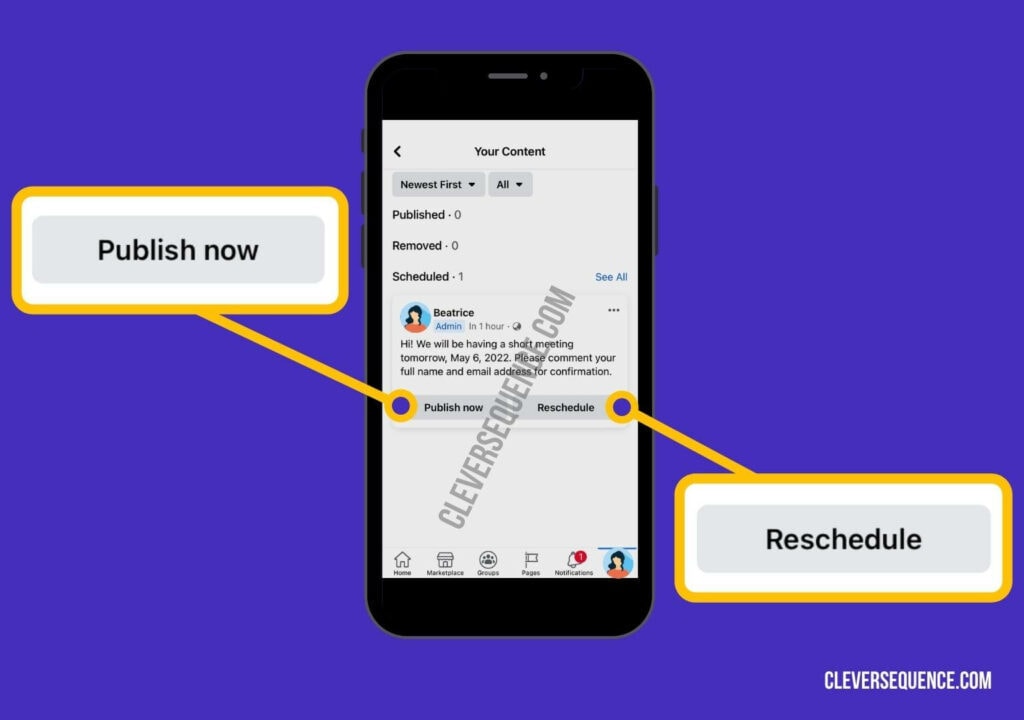
Step 5: Make Changes to the Post
When the list of scheduled posts appears, find the one that you need to make changes to and click on the three dots that are found on the right-hand side of the box.
From the list of options, choose to delete or reschedule the post.
You might also like: how to improve video quality on iPhone
The hope is that every member of your group will behave and be kind to one another, but that’s not always the case. Make sure your rules of conduct are clear and follow through with punishments when infringements occur. This will ensure that everyone has a good time in your Facebook Group.
You might also like: Google Sheets employee schedule template
Making Group Life Easier
Creating a Facebook Group is a great way to connect with others who share your same interests. However, keeping them engaged can be incredibly time-consuming. If you find yourself wondering how to schedule a post on Facebook Group, here are the steps you’ll need to follow:
- Log in to Your Facebook Account
- Open the Facebook Group
- Create Your Post
- Click on the Calendar Icon
- Schedule Your Post
The above article may contain affiliate links, which help support Clever Sequence