How to Center Object in Illustrator

Graphic designers love the power and features they receive in a tool like Adobe Illustrator. This software program lets you layer icons, text, images, and other graphics in a single project.
You can use Adobe Illustrator to create logos, social media banners, and any other types of graphics. ultimately, you want any project to look organized and professional, which comes with a sense of symmetry.
You can learn how to center objects in Illustrator with the step-by-step guide below.
You Might Also Like: Smartphone Tricks
Step-by-Step Guide to Learn How to Center Object in Illustrator
This step-by-step guide will help you learn how to center objects in Illustrator.
Related: Illustrator Tips
Center an Object in Illustrator
You can learn how to distribute objects evenly in Illustrator to design a perfectly symmetrical graphic. There are several techniques you can use to complete this process, all having different benefits.
When you learn how to center an object in Illustrator, it will appear directly in the middle of the artboard. It will be the focal point of your design. Place other images and text around the object to get the best results, always remembering the symmetry you want to achieve.
Use the Artboard Settings
The easiest method you can use to learn how to center an object in Illustrator is to use the artboard settings. You can access these options in the “Window” menu in the software. The steps required are in the information below.
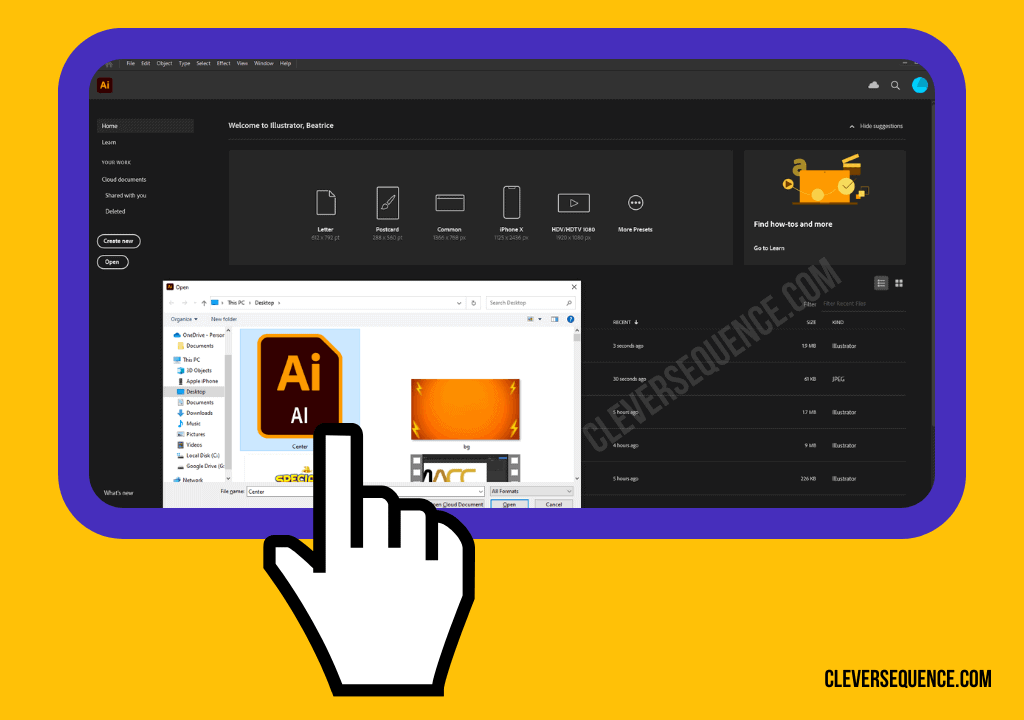
1. Open Adobe Illustrator and log in to your account.
2. Find the project with the items you want to center.
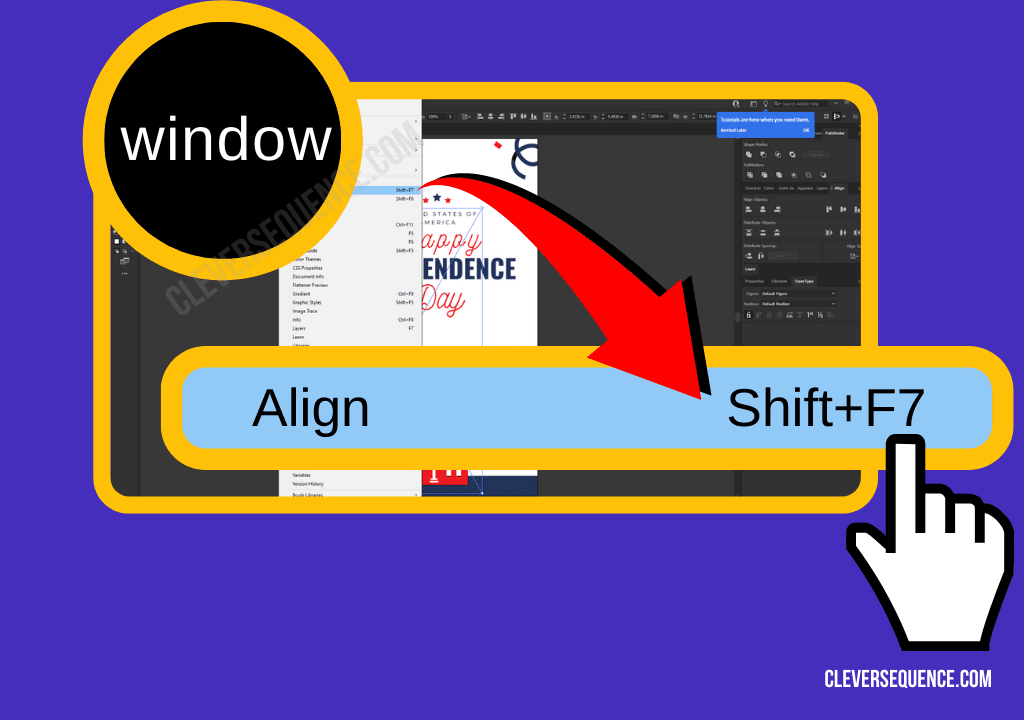
3. Click on the “Window” menu at the top of the screen.
4. Choose the option labeled “Align,” followed by “Align To.”
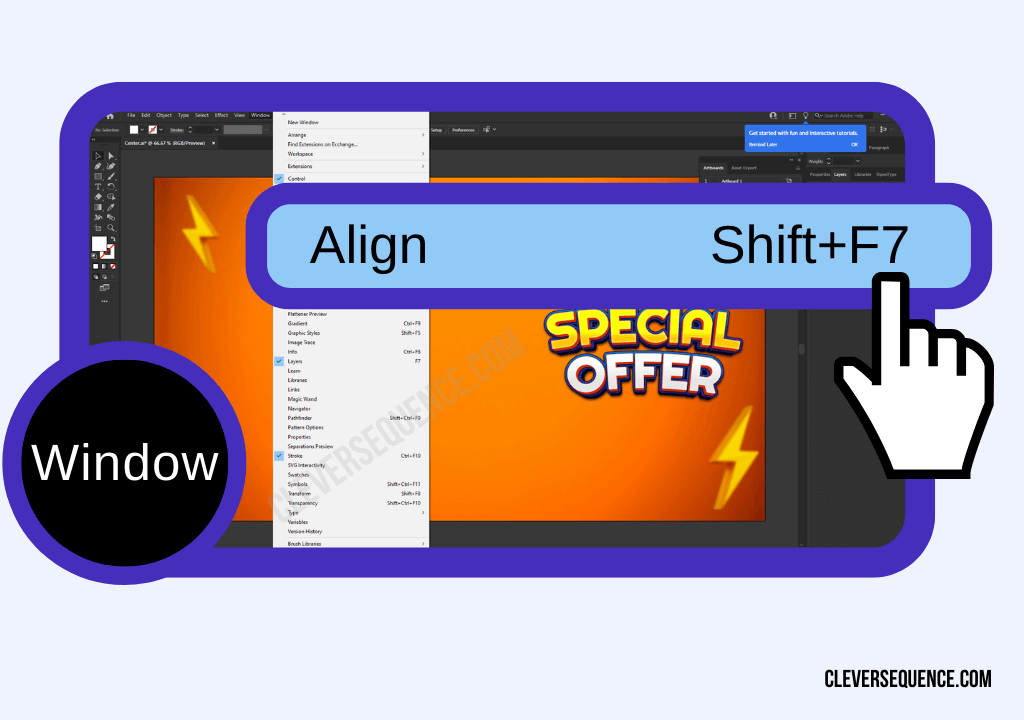
5. Click on “Align to Art Board.”
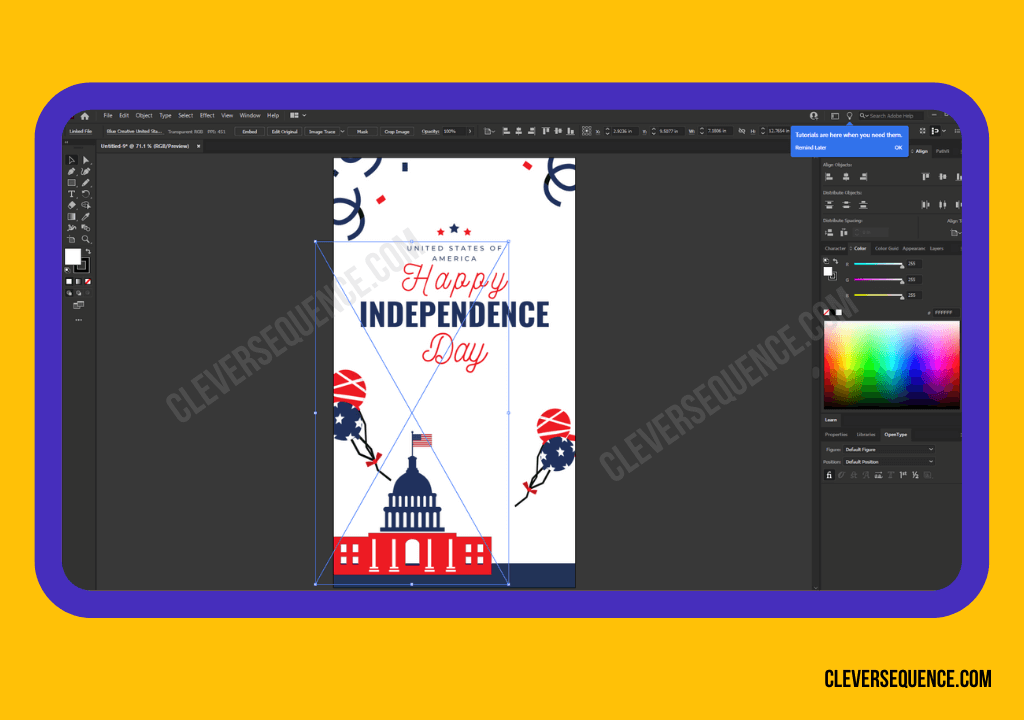
6. Click on the object you want to align.
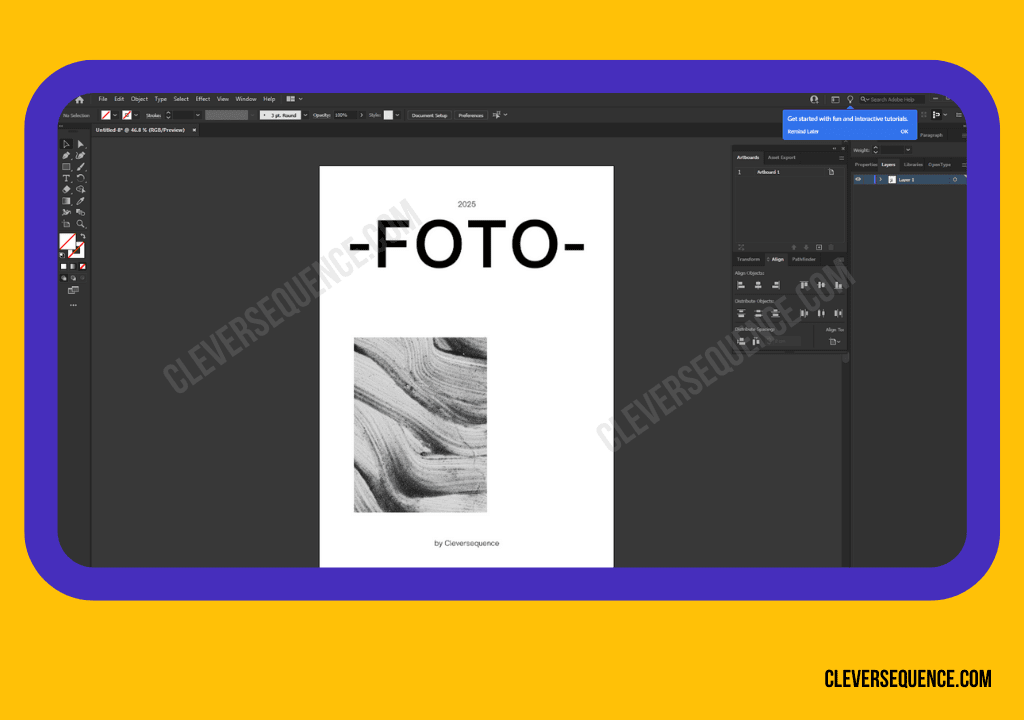
7. Look for the navigation bar at the top of the page. An “Align” panel will also show up with the same options.

8. Click on the “Horizontal Align Center” and “Vertical Align Center” options to center your object.

You can use the method listed above to learn how to center-align text in Illustrator. It is also useful for any other icons, images, or graphics you want to include in your design.
You Might Also Like: How to Blur Text in a Picture on Iphone
Align Objects on the Illustrator Mobile App
Adobe Illustrator is also available as a mobile app on iPhone and Android devices. You can learn how to distribute objects evenly in Illustrator using this software as shown in the steps below.
- Download the Adobe Illustrator mobile app on your iPhone or Android. It is available in the Google Play Store or Apple App Store.
- Open the project with the object you want to align.
- Click on the object you need to align.
- Click on the alignment icon on the right side of the screen. It resembles a sideways horizontal graph.
- Look for the section labeled “Align.”
- Choose the middle option in the vertical and horizontal rows to center your object.
The method listed above is similar to that required on the desktop version of Illustrator. You choose to center the object based on vertical and horizontal alignment options.
Use an Illustrator Shortcut
There are also shortcuts available in Illustrator that help you align an object. Click on the object you need to center before using the keys mentioned below.
On a Mac, you will need to press “Cmd+Shift+L/C/R.” On a Windows computer, click “Ctrl+Shift+L/C/R.” You will need to press “L,” “C,” or “R” separately until you achieve your desired results.


Full Guide: How to Embed Images in Indesign
Create Shortcuts in Illustrator
You can also make shortcuts in Illustrator to learn how to align an object. You will realize below that the steps required are extremely simple.
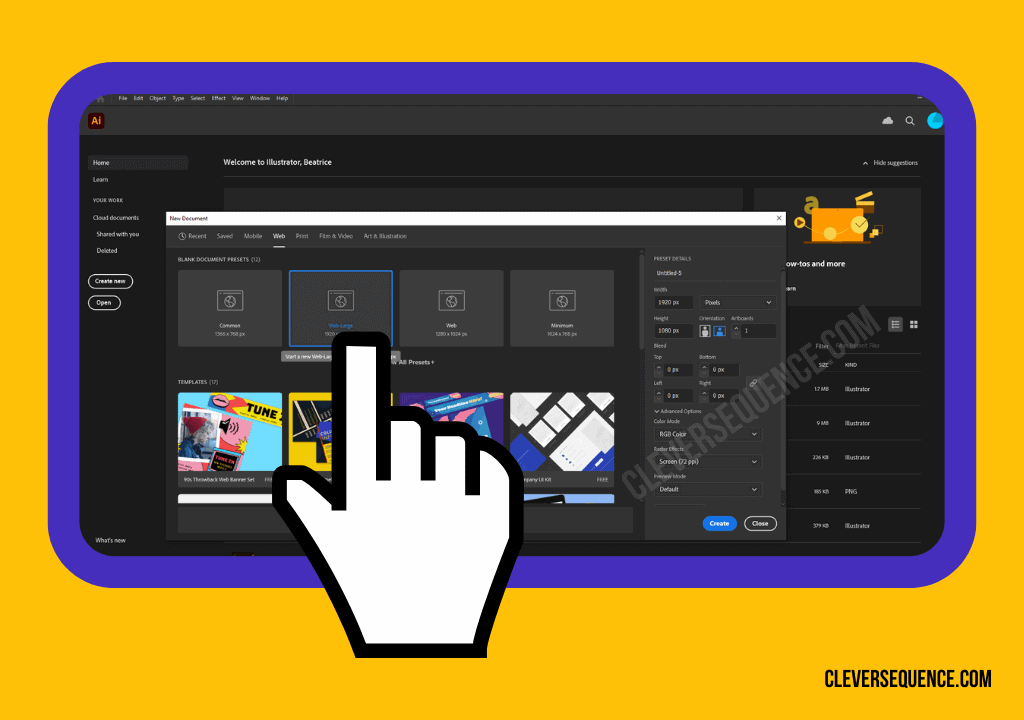
- Open a project you want to use in Adobe Illustrator.
- Click on the “Edit” menu at the top of the screen.
- Press the option labeled “Keyboard Shortcuts.”
- Click on the “Menu Commands” dropdown menu.
- Choose the option labeled “Object,” followed by “Align.”
- Set up the shortcut you want by pressing the appropriate keys on your keyboard.
Many individuals recommend using “Shift + C” to align objects horizontally. You can click “Shift + M” to center them vertically.
Center Objects without Moving One
You can center an object without moving one in Adobe Illustrator. This process will help you make a symmetrical design before you finish it in the software. The steps required are below.
1. Open Adobe Illustrator on your computer and sign in to your account.
2. Find the project with the objects you want to align.
3. Click on the objects you want to align and move.
4. Select the object you want to remain still. You do not have to press the “Shift” key.
5. Wait for the blue outline to appear around the object.

6. Look for the “Align” panel on the right side of the screen. It should automatically say “Align to Key Object.”

7. Click on the option labeled “Align to Key Object.”

You can end this process by clicking on the key object again. It will remove the outline. You can also press “Cancel Key Object.” This option is under the “Align” panel on the right side of your screen.
You Might Also Like: How to Change the Color of a Logo in Photoshop
Align an Object to Specific Anchor Points
Finally, you can learn to center objects to a specific anchor point on your project. You have to set up a grid before starting this process, as seen in the information below.
Set Up a Grid
As soon as you open your Adobe Illustrator project, you need to set up a grid. The steps required are in the information below.
1. Open Adobe Illustrator and open the appropriate project.
2. Click on the “Precision” menu on the right of the screen.
3. Choose the option labeled “Snap to Grid.”
4. Show the grid by clicking the toggle bar next to “Grid.”
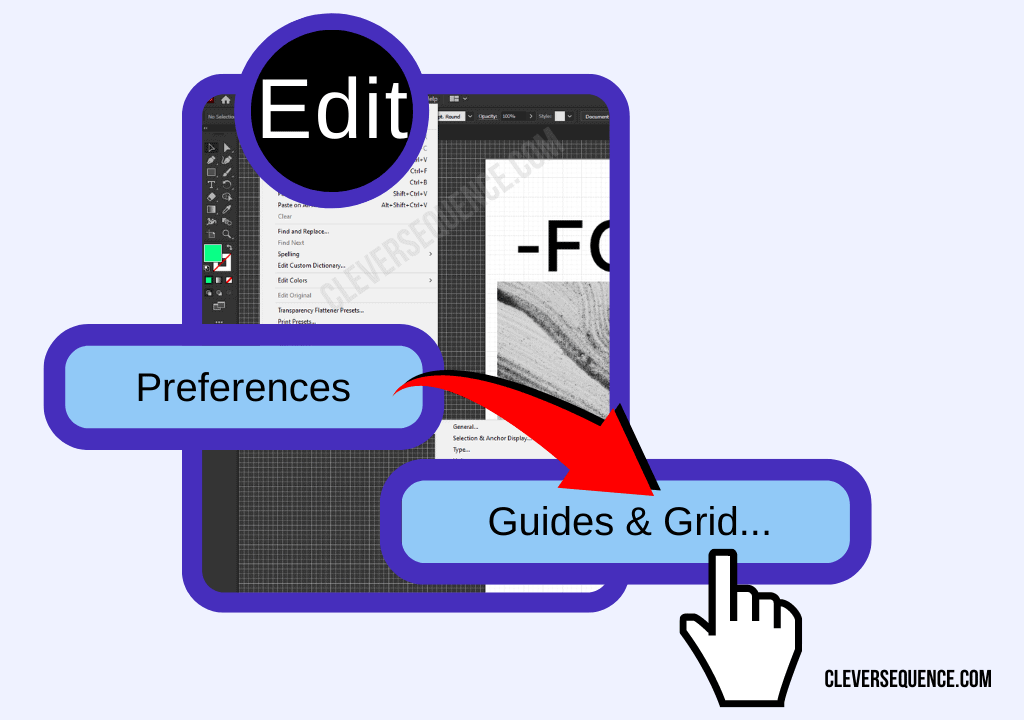
5. Choose the color and design style of your grid.

After you set up a grid, you will notice that objects automatically align to the lines. You can turn this feature off at any time.
Align to Anchor Points
After you make a grid or path on your project, you can align objects to specific anchor points. You will use the direct selection tool to follow the steps below.
1. Open Illustrator and the project you need to complete.
2. Click on the object you want to align.
3. Tap “Align” in the “Window” menu.

4. Choose the “Direct Selection” tool on the left side of the screen.
5. Select the anchors you want to use in your alignment.
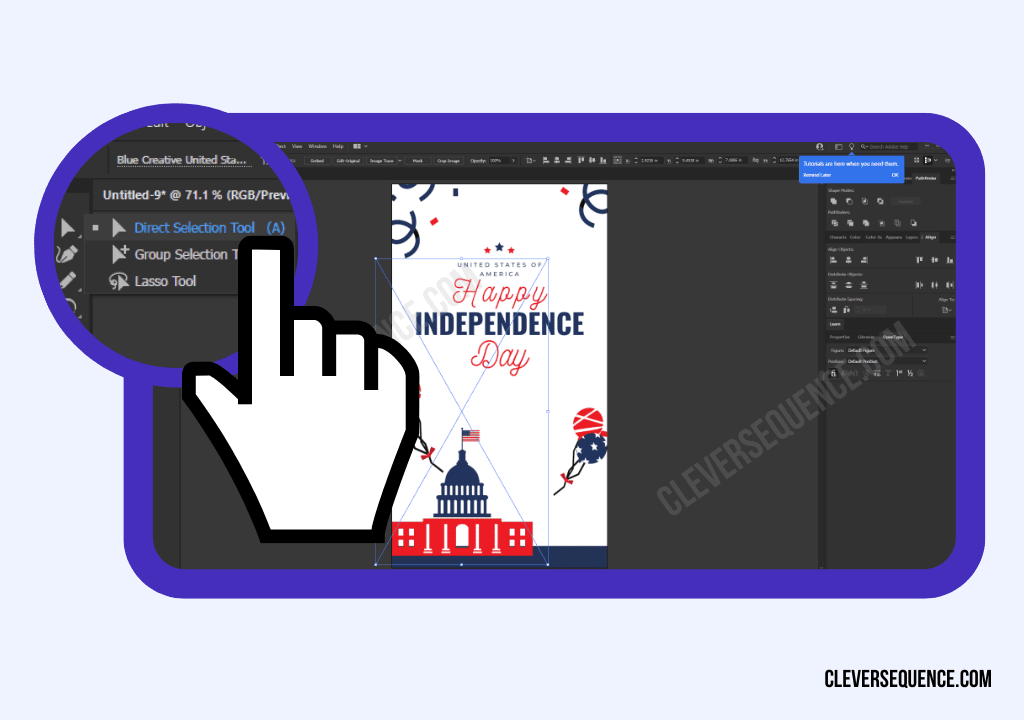
6. Click on the align option you want to use in accordance with the anchor points.

Related: How to Underline Text in Illustrator
Tips and Tricks
1. Keep Your Graphics Organized with the Pen Tool
The pen tool is one of the most confusing aspects of Adobe Illustrator. You have to choose the best settings to achieve the effect you want.
The pen tool can help you design prints, logos, and other vector images. Learn how to build curves and other shapes with this feature.
2. Create Your Own Brushes in Illustrator
You can create your own brushes in Illustrator rather than using the built-in tools. Click on the “Appearance” panel by clicking on the “Window” menu.
You can create a graphic with multiple points using paths when you make a unique brush. You can build opacity, blend, and fill your designs with different patterns.
3. Use Strokes to Change the Appearance of Your Design
Strokes can completely change the appearance of your design in Illustrator. The default setting is one point black, which is relatively thin.
The interior of your strokes is white, especially if you create a shape. You can manipulate your paths to create the design you want. If you make a thicker stroke, your design will appear bolder.
Full Guide: How to Outline an Image in Illustrator
Q&A
How Do You Align an Object in Illustrator without Moving It?
You can learn how to align objects in Illustrator without moving one. Select the items you want to center in the app to start.
The next step in learning how to align objects in Illustrator without moving one is to choose the one you want to keep still. Choose the option labeled “Align Centers” to keep the master item where it belongs.
How Do I Center My Logo in Illustrator?
You can learn how to center an object in Illustrator to choose where you want to place your logo. Access the “Window” menu to begin.
After pressing “Window,” choose “Align.” Click “Align to Art Board,” looking for the options in the navigation bar. Select “Horizontal Align Center” and “Vertical Align Center” to finish.
You Might Also Like: Turning a Photo Into a Line Drawing
How Do I Enable Center Points in Illustrator
You can create center points in Illustrator using the “Artboard.” Look for the settings under the “Display” section.
You will need to place a checkmark in the box next to “Show Center Mark.” Use the “Selection” tool to make a mark in the middle of the artboard.
How Do I Change the Anchor Point in Illustrator?
You can use the “Selection” tool to move an anchor point in Illustrator. Click on the option you want to move, dragging it to another spot on your path.
If you want to precisely move the anchor point, click on it to start. Use the arrow keys on your keyboard to find the exact spot you need it.
How to Center an Object in Illustrator
You now know how to center an object in Illustrator. You can access the features you need in the “Align” panel on the right side of your screen.
The above article may contain affiliate links, which help support Clever Sequence